
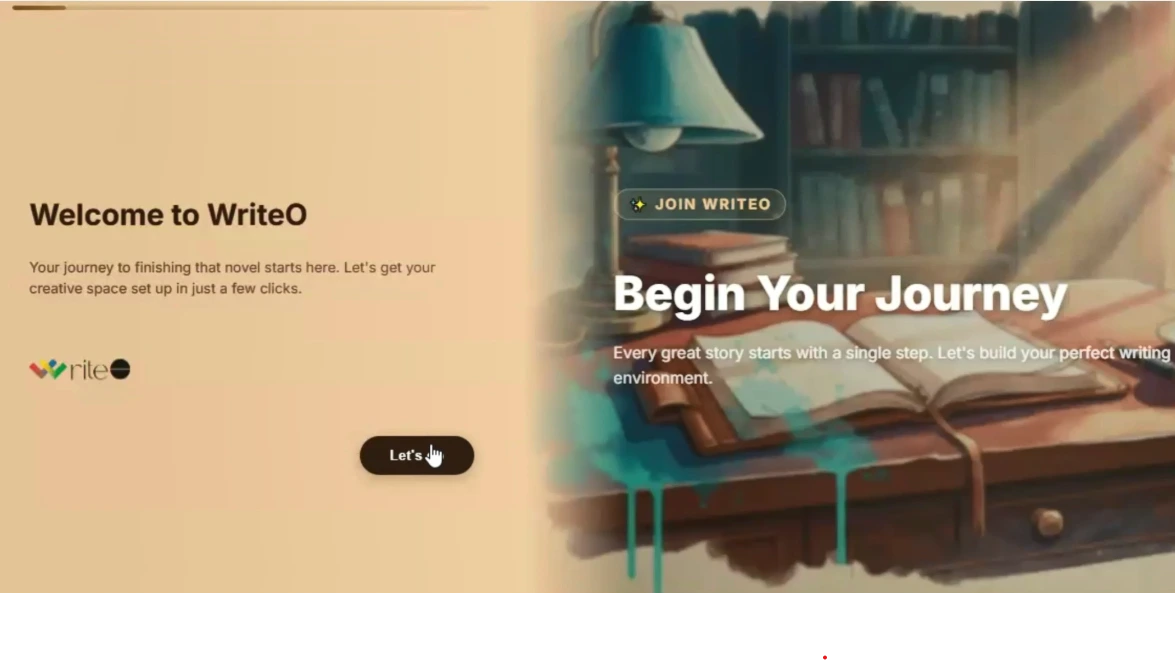
Setting up a new writing app shouldn't take longer than actually writing. With WriteO, you go from sign-up to first word in under three minutes. Here's how.
Step 1 — Create Your Account
Go to writeo.app and click Start Writing. Enter your email and a password. No credit card, no trial timer, nothing to install.
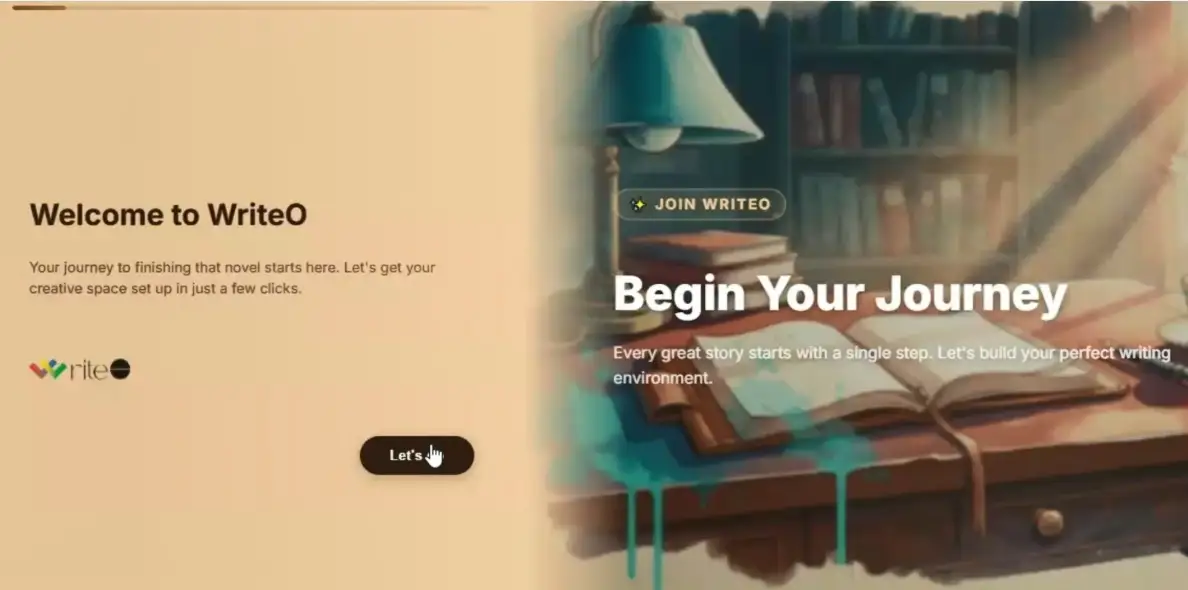
Once you're in, WriteO opens a short welcome wizard straight away.
Step 2 — The Welcome Wizard
Eight quick questions. WriteO uses your answers to personalise the experience, so it's worth being honest rather than just clicking through.
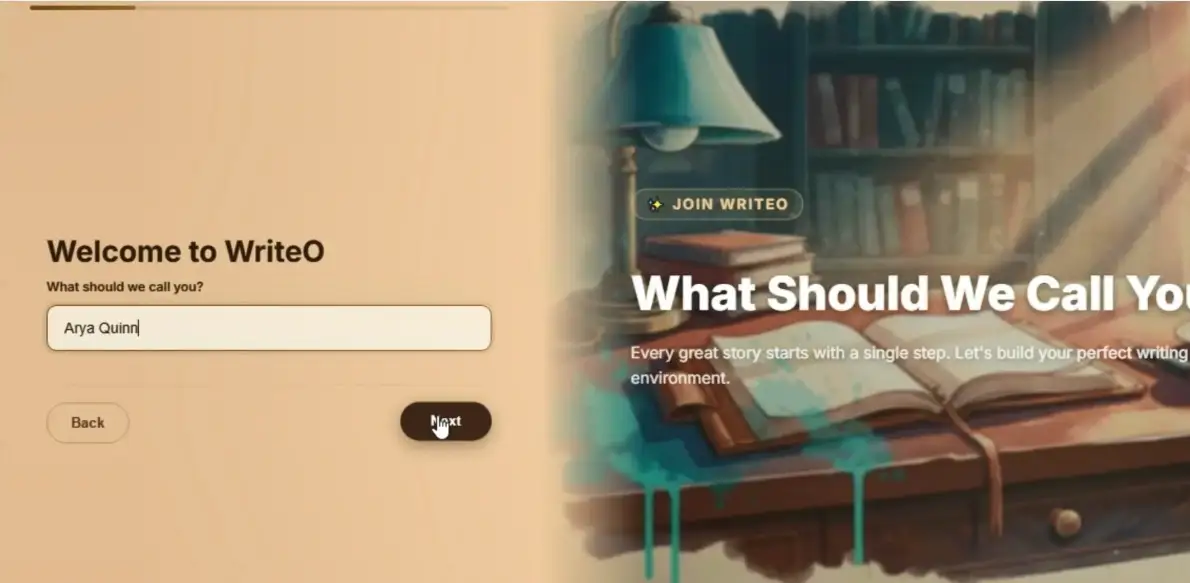
What should WriteO call you?
Your name, your pen name, whatever you write under.
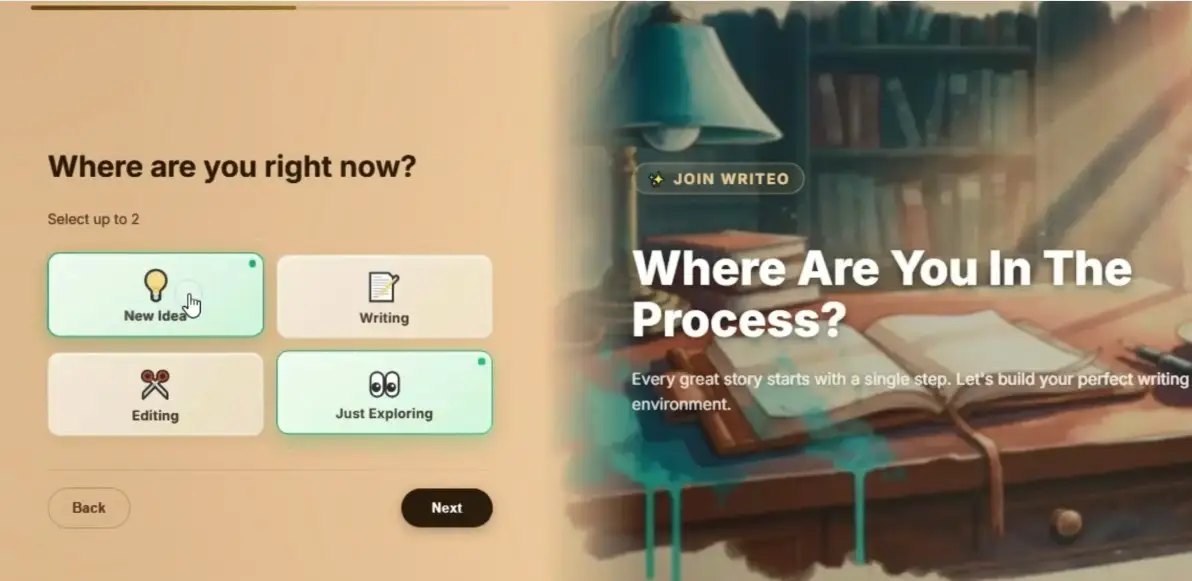
What are you working on?
Writing a novel, planning one, exploring the app. Pick what fits.
What genre do you write?
Choose your main genre for now. You can update this any time from your profile.
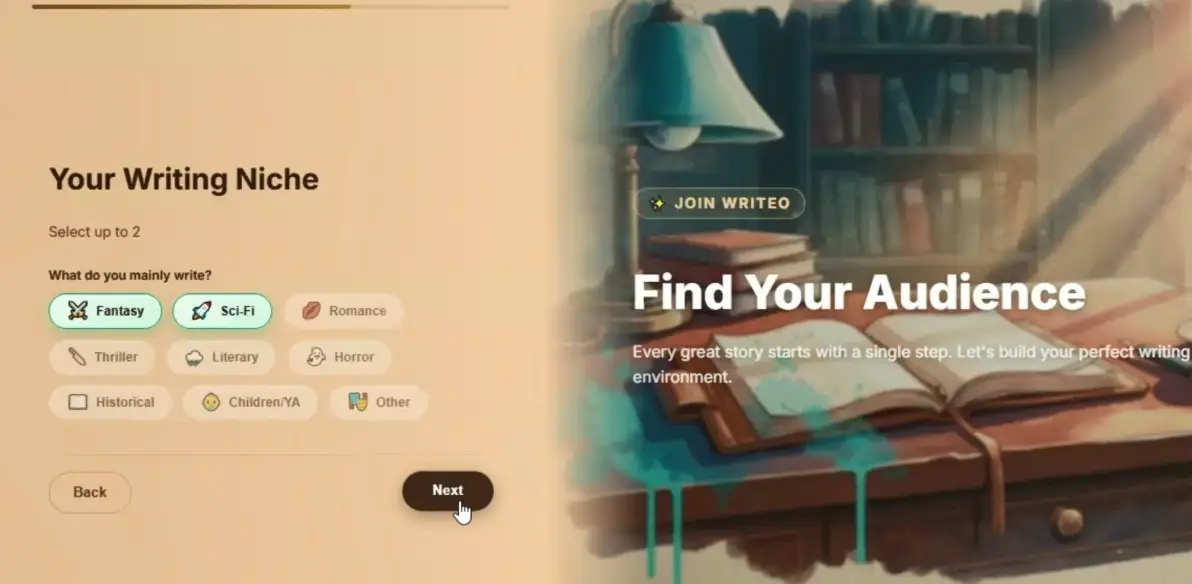
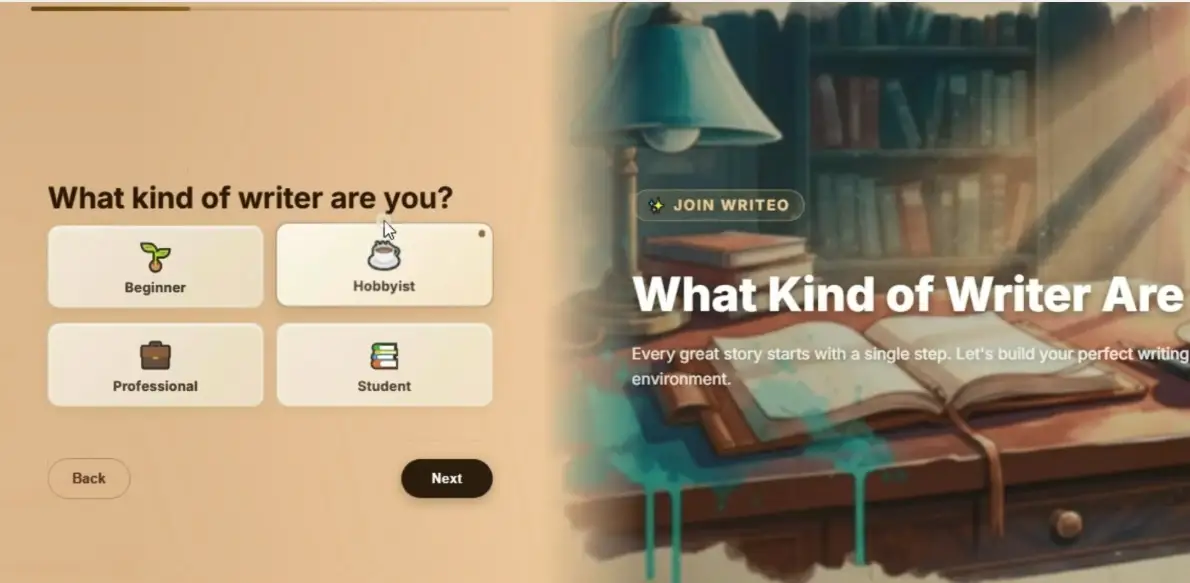
How would you describe yourself as a writer?
Aspiring Author, Hobbyist, or Professional. Pick whichever feels right today.
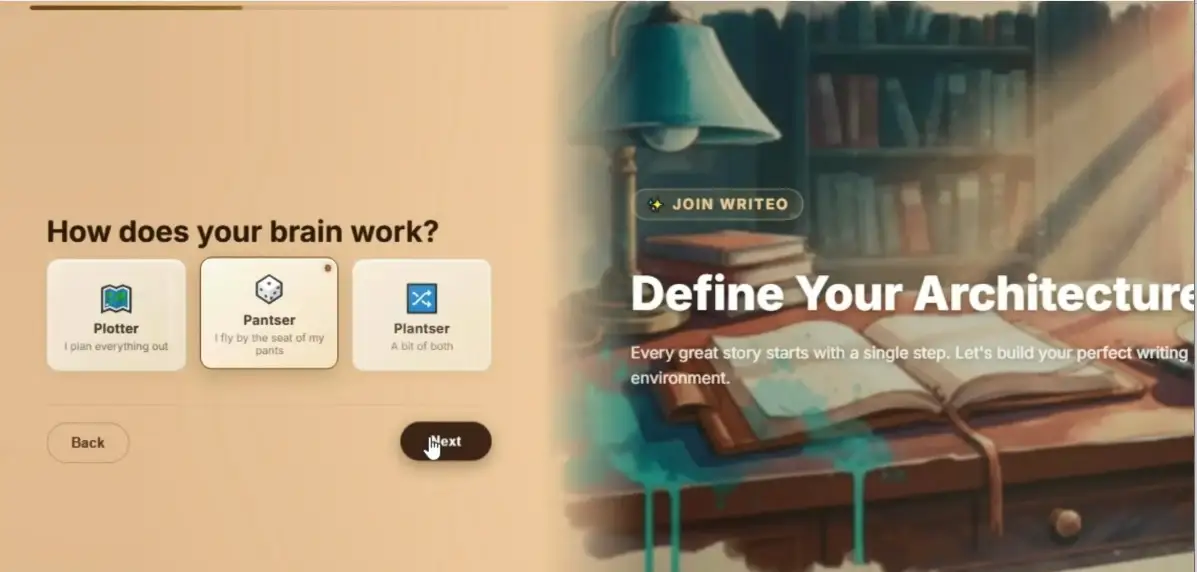
Plotter or pantser?
Plotters plan before they write. Pantsers find out what happens by writing it. No wrong answer here.
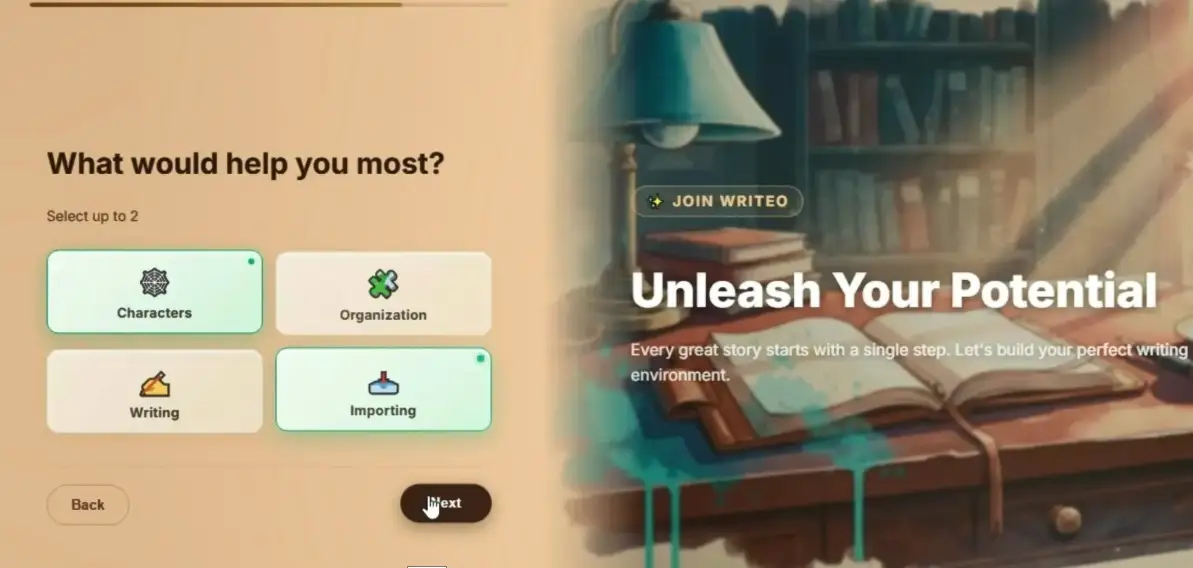
What do you most want help with?
Staying consistent, beating writer's block, staying organised. Pick your biggest struggle right now.
How did you find WriteO?
Last one.
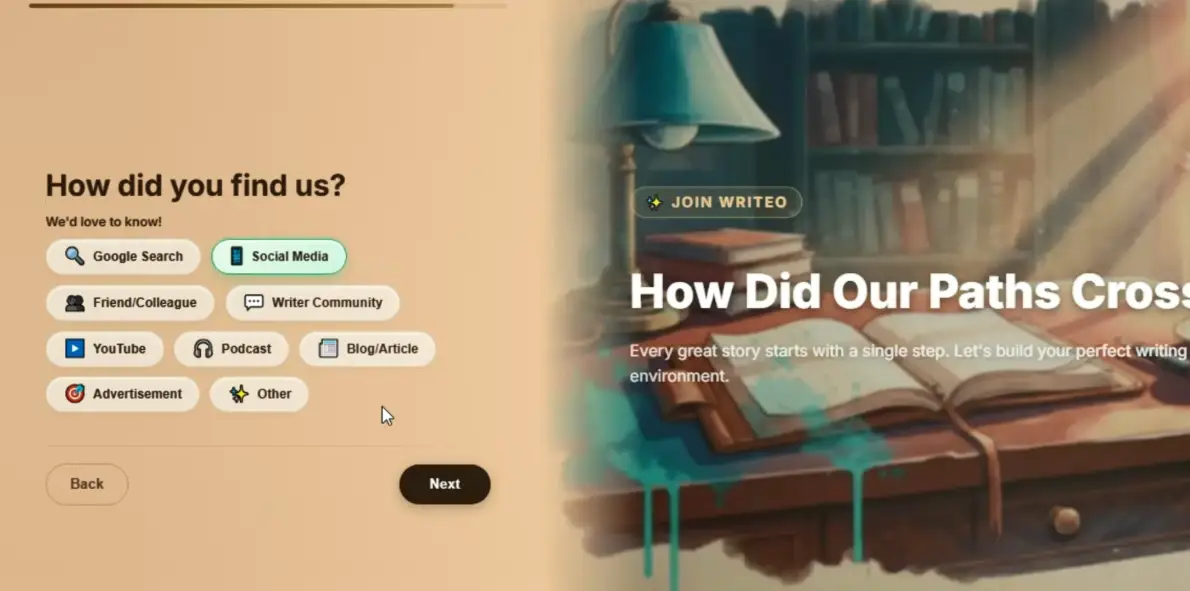
Hit Done and you land on your dashboard.
Step 3 — Your Dashboard
WriteO doesn't drop you into an empty screen. There's already a novel card waiting for you.
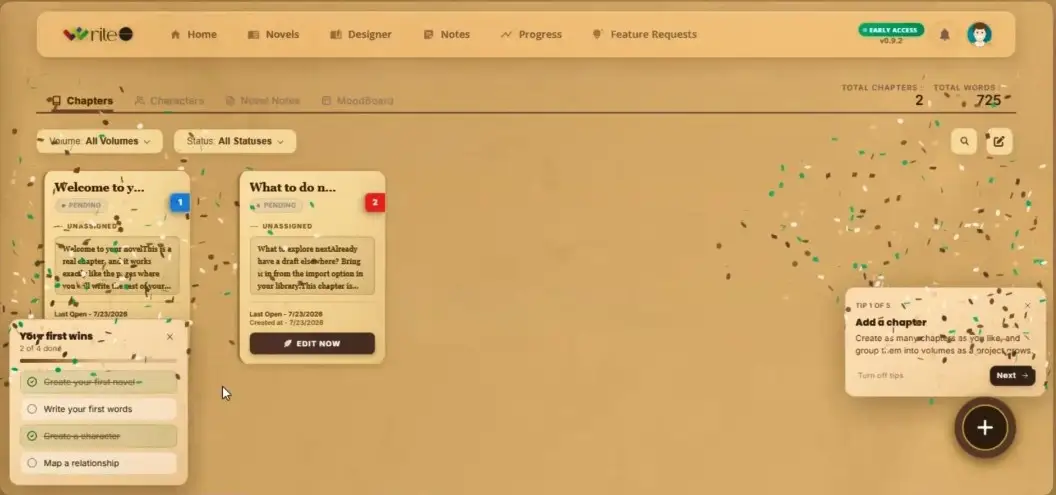
Every new account comes with a starter novel already created, so you have something to open straight away. The card shows your genre, a placeholder cover, and a word count of zero.
Step 4 — The Getting Started Checklist
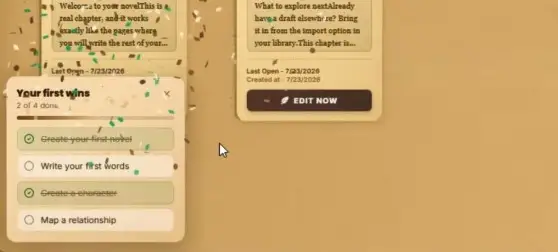
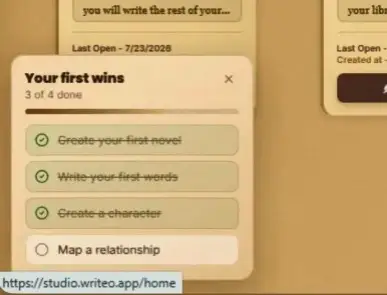
You'll see a Getting Started Checklist on your dashboard. It tracks your first milestones inside WriteO and ticks items off automatically as you complete them. No manual updates needed.
Step 5 — Open Your Starter Novel
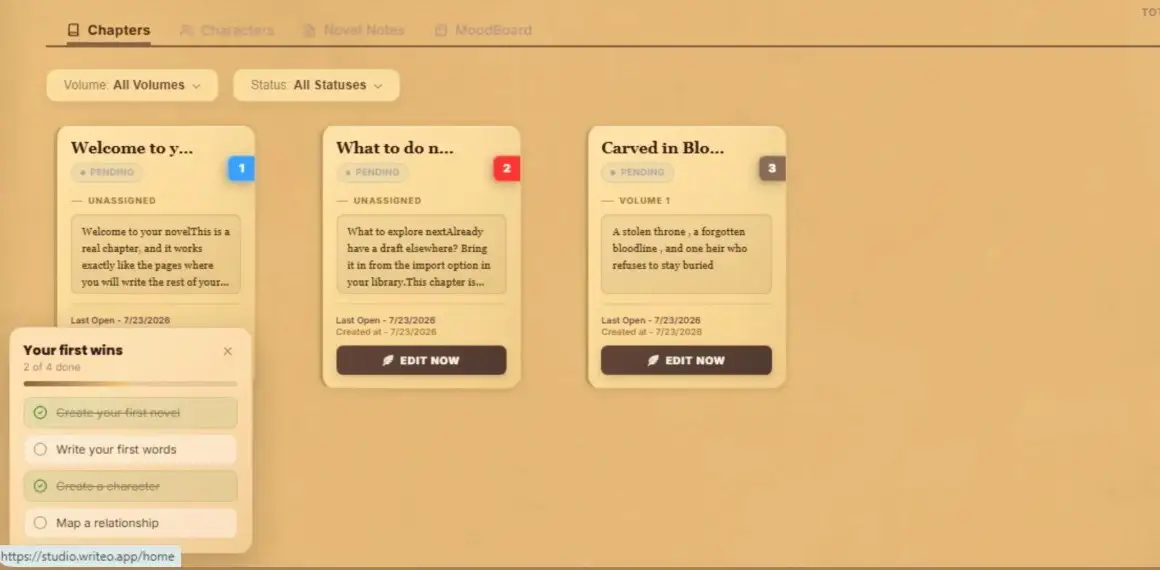
Click the novel card. The Chapters view opens with a first chapter already created inside. It has a title, a Draft status, and a word count of zero. That last part is about to change.
Step 6 — Rename Your Novel
Click the novel title to edit it. Give it a working title, even a vague one. You can change it any time, but naming it makes it feel like a real project rather than a placeholder.
Step 7 — Open the Editor
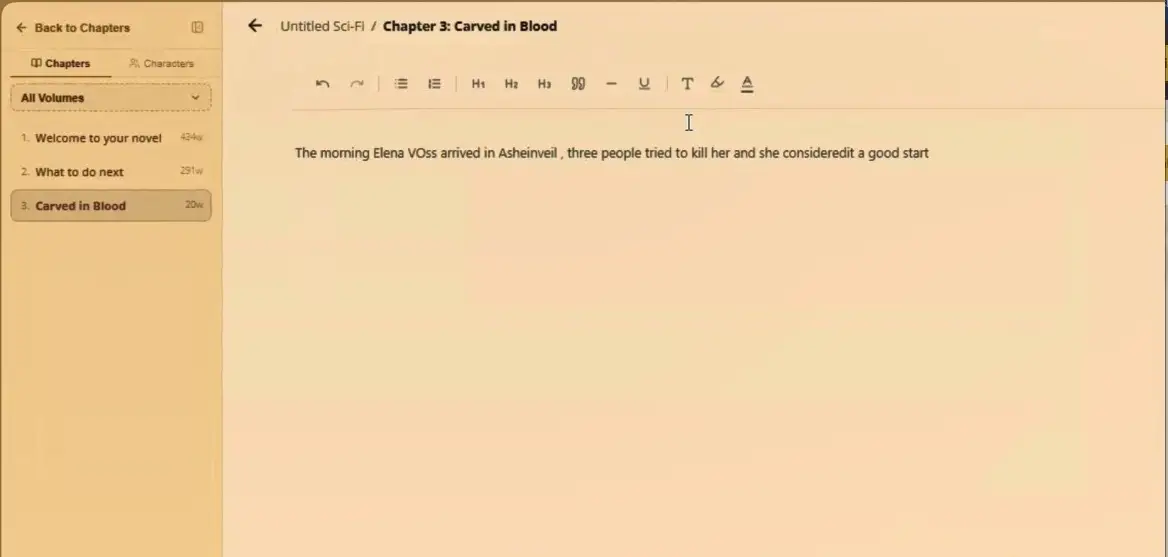
Click the chapter to open it. The editor loads in a three-panel layout: chapter list on the left, writing area in the centre, chapter details on the right. Each panel can be collapsed when you want more focus.
Step 8 — Write Your First Line
Click anywhere in the writing area and start typing. It doesn't have to be perfect. It just has to be something.\
Step 9 — Check Your Checklist
Go back to the dashboard. The checklist will have ticked off 'Write your first words' on its own. That's your Day 1 done.
Account set up, first novel named, first chapter open, first words saved.

Arya Quinn
Arya Quinn is a fantasy romance writer and the kind of reader who finishes a book and immediately needs to talk about it...