
WriteO Learning Guide: Structure and Style Your Book (Part 2 of 3)
Your book is set up and laid out. Now you add the pages around your story and give the interior its own character.
Finished guide 1 first? If not, start with Set Up Your Book in Book Designer.
1. Set Up Your Book Structure
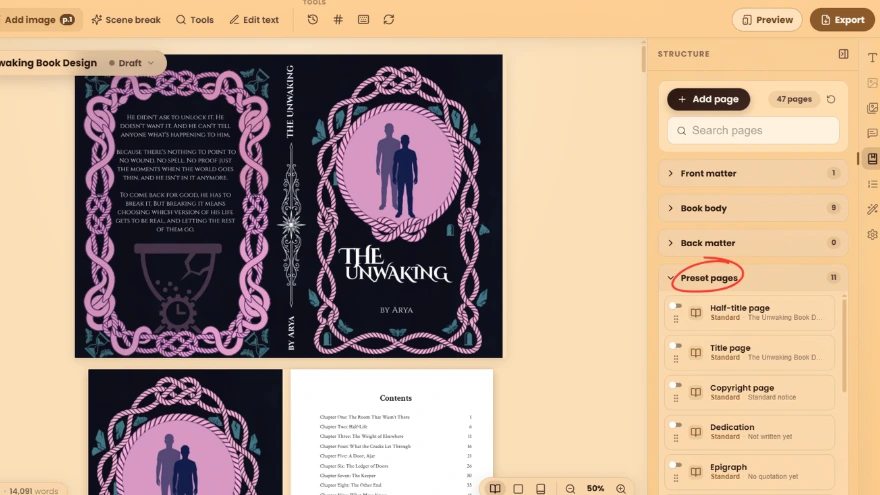
Use Structure to organize the different sections of your book.
Parts & Custom Pages
Click Add part to divide your book into larger sections.
Click Add custom page to create an additional page when needed.
Front Matter
Choose from:
Half-title page
Title page
Copyright page
Dedication
Epigraph
Table of contents
Foreword
Preface
Turn on the sections you need and use the edit icon to add content.
Back Matter
You can add:
Acknowledgments
About the author
Also by this author
Newsletter / Stay in touch
💡 Tip: Only enable the sections your book actually needs.
2. Add Parts, Custom Pages and Two-Page Spreads
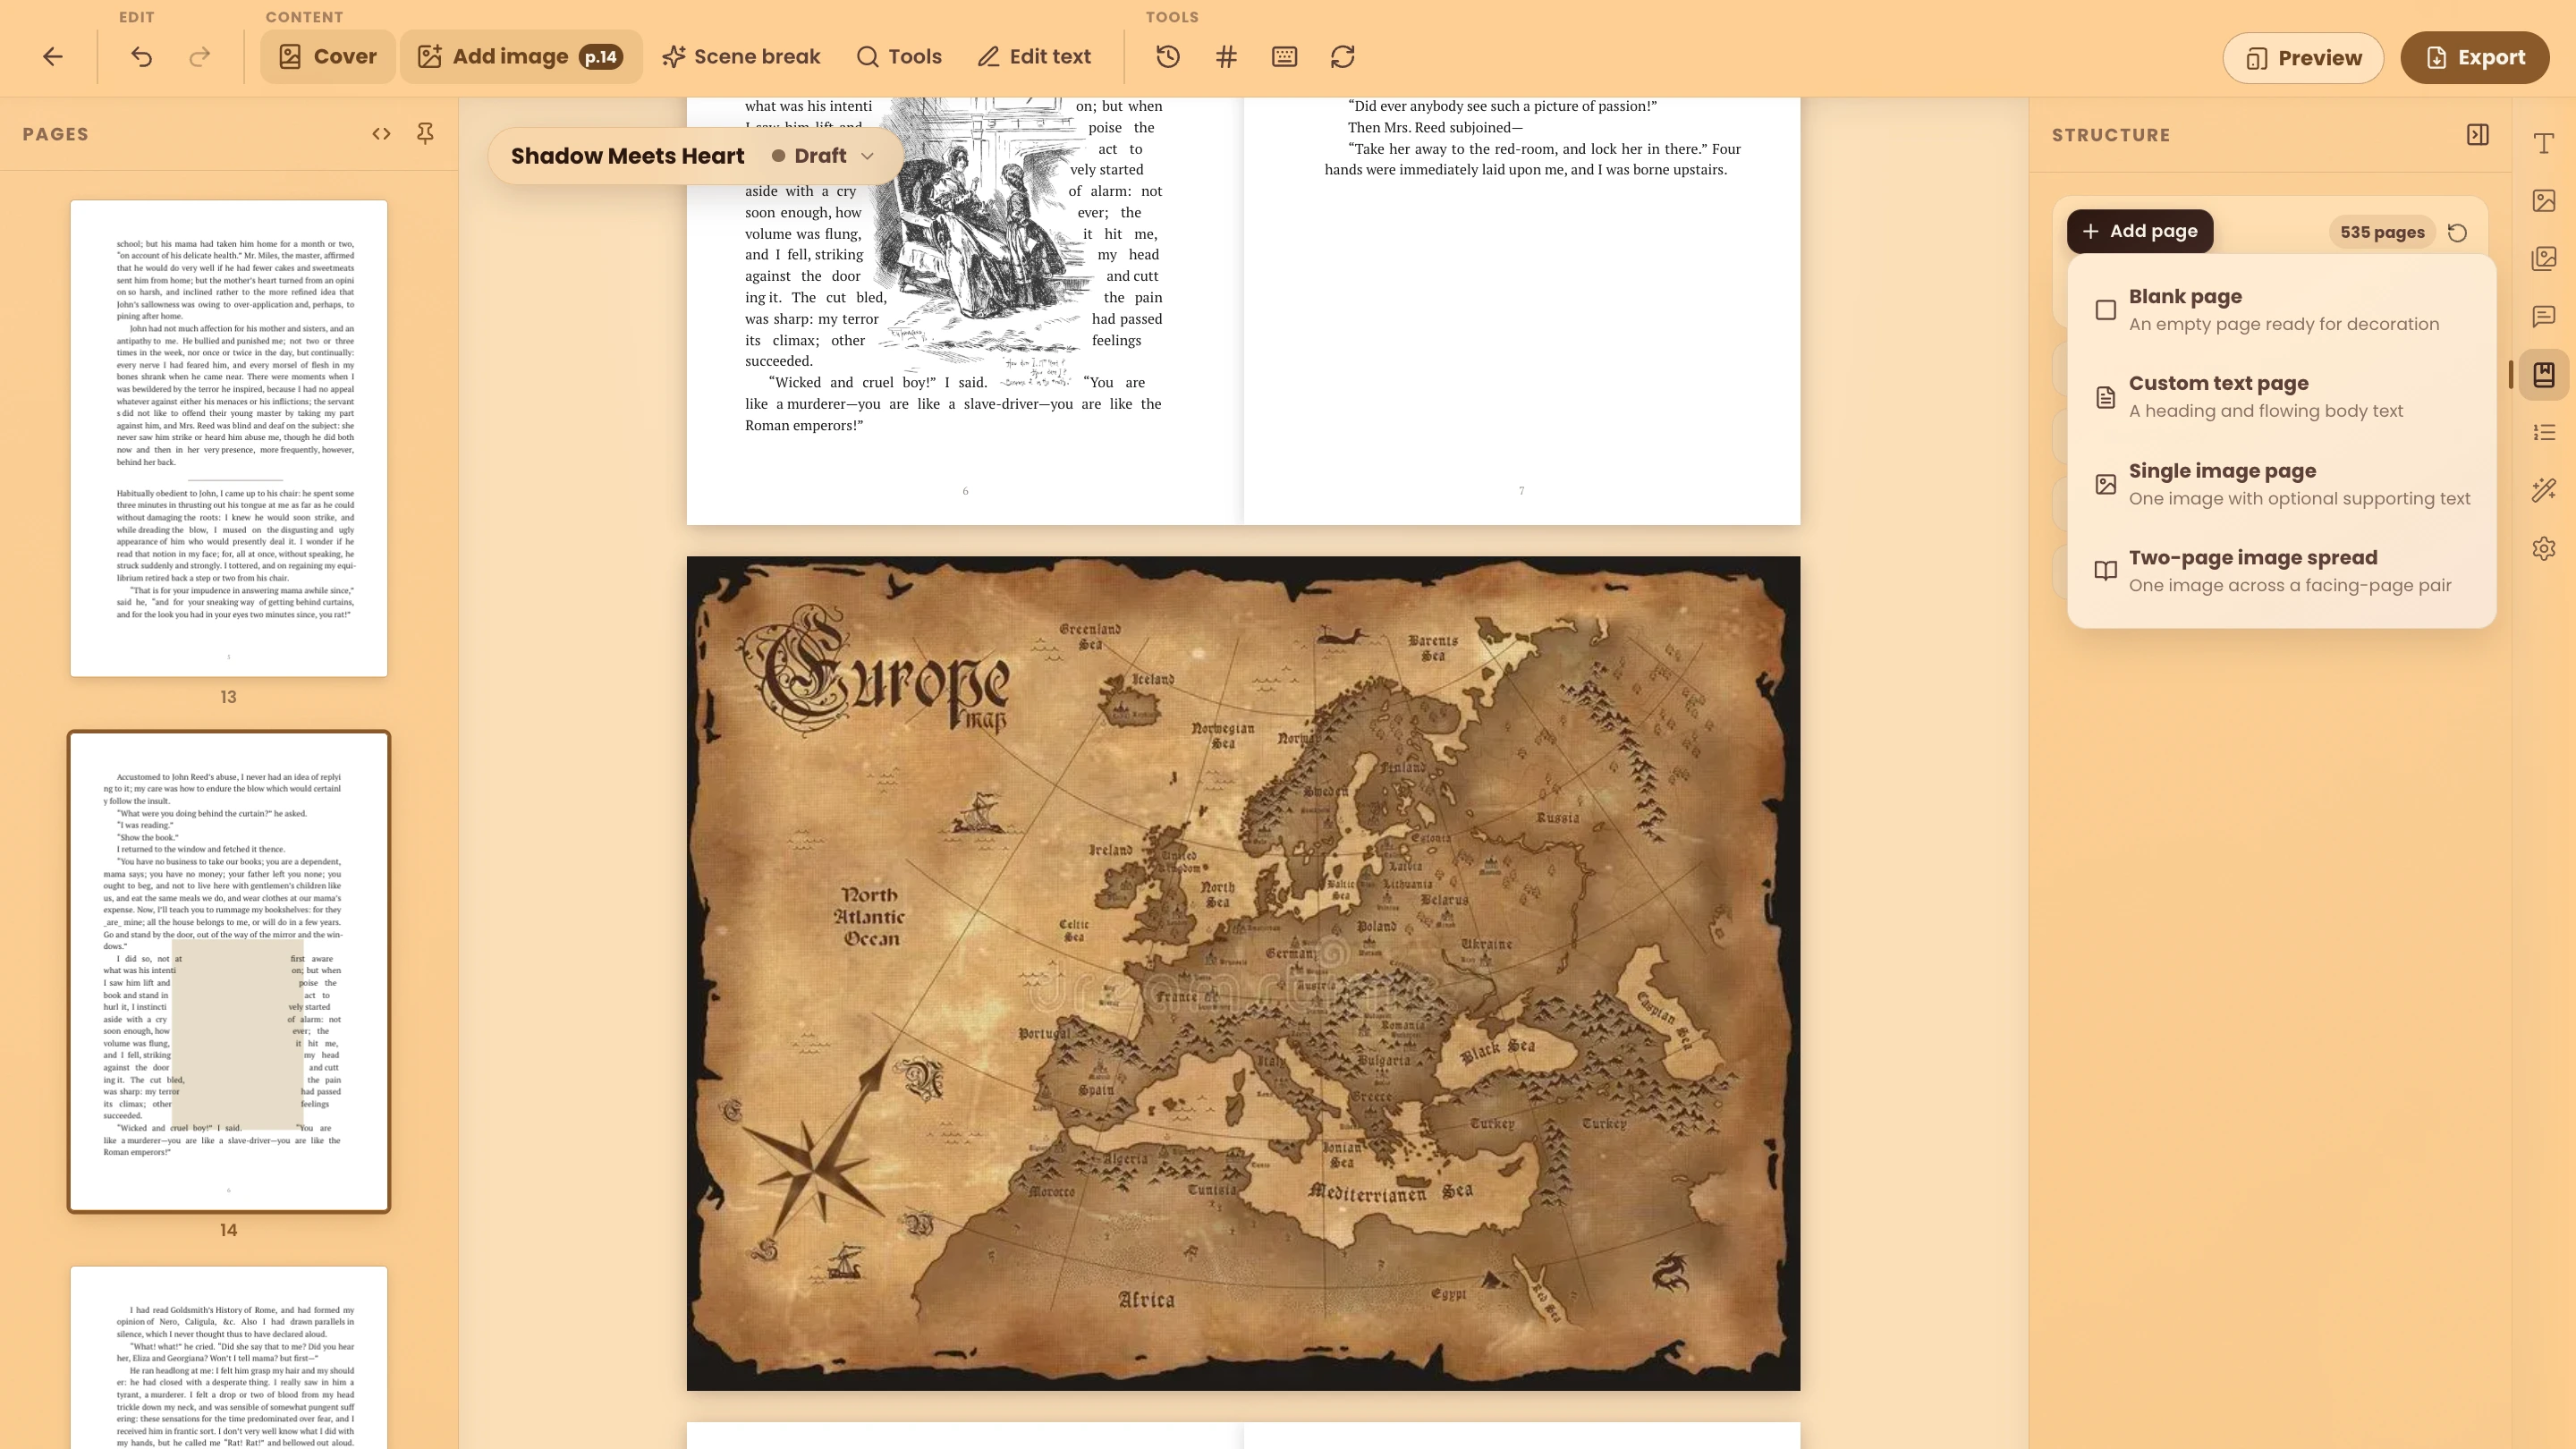
Add page lets you insert pages that aren't chapters, including full-page images and map spreads.
Steps
Open Structure.
Click Add page.
Choose Blank, Custom text, Single image, or Two-page image spread.
Choose whether it belongs in the front, body or back of the book.
For body pages, pick the chapter it should sit against.
A two-page spread uses one image across both pages, which is how printed books show maps. You can preview, duplicate, move, reorder or delete any page from here without touching your chapter order.
💡 Tip: Use a two-page spread for maps and artwork that deserve the full width.
3. Add Images & Scene Breaks
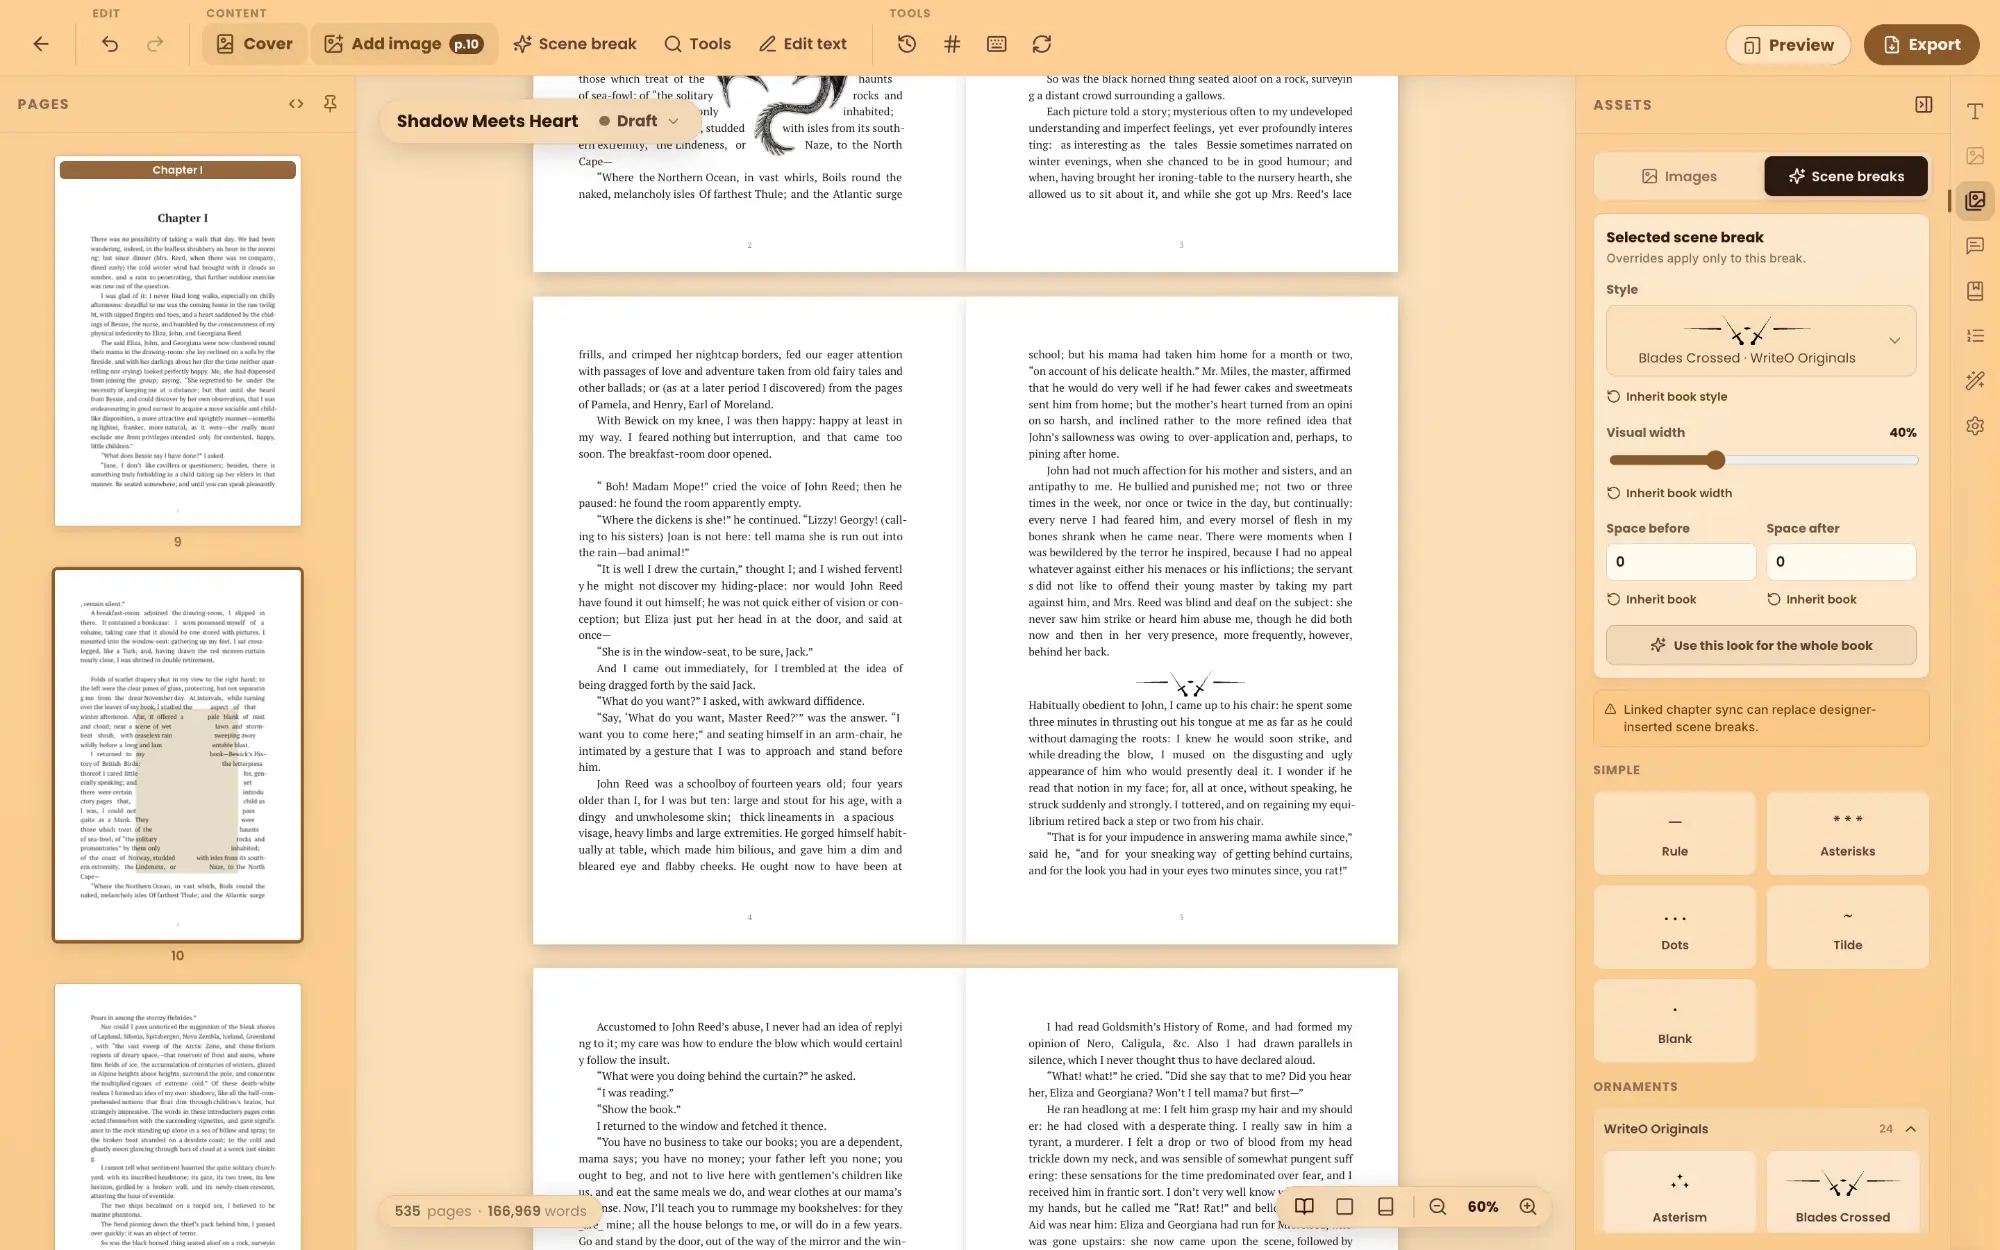
The Assets panel lets you manage images and scene breaks.
Steps
For Images:
Open Assets → Images.
Click Upload image.
Use Manage to organize your images.
For Scene Breaks:
Open Scene breaks.
Choose the style you want.
Apply it between scenes.
Image: Assets panel showing Images and Scene breaks
💡 Tip: Use a consistent style for scene breaks throughout your book.
4. Place Images Exactly Where You Want Them
Once an image is on the page, you control how text behaves around it.
Steps
Drag an image from Assets to the spot you want, on any page.
Choose how text wraps around it.
Open the image inspector to set size, opacity, border, rotation and alt text.
Set the fit and focal point so the important part stays visible.
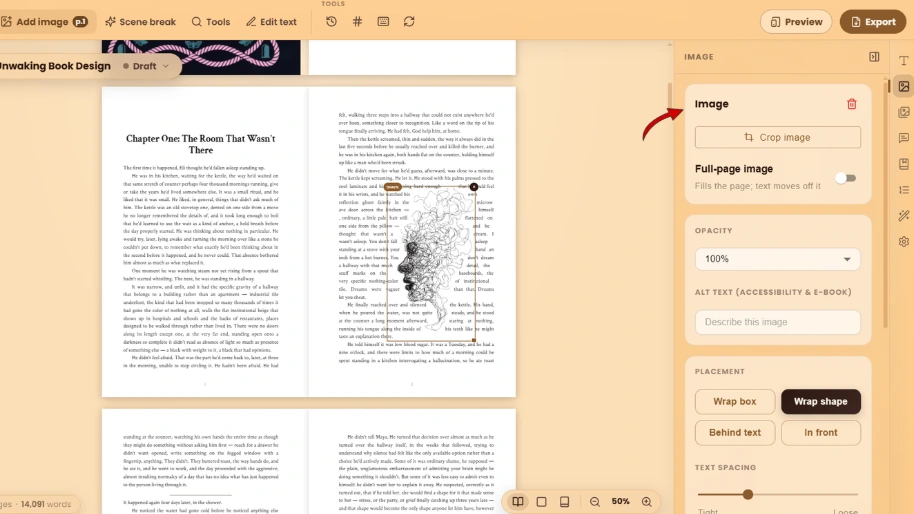
💡 Tip: Always fill in alt text. It carries through to your EPUB for readers using screen readers.
5. Style Your Scene Breaks
Set one scene break style for the whole book, then override individual breaks where you want something different.
Steps
Open Settings.
Select Scene breaks.
Set the style, width, and the space above and below.
To change a single break, click it on the page and adjust it there.
Any break you don't override inherits the book-wide setting, so your book stays consistent by default.
Image: Scene break settings showing style and spacing
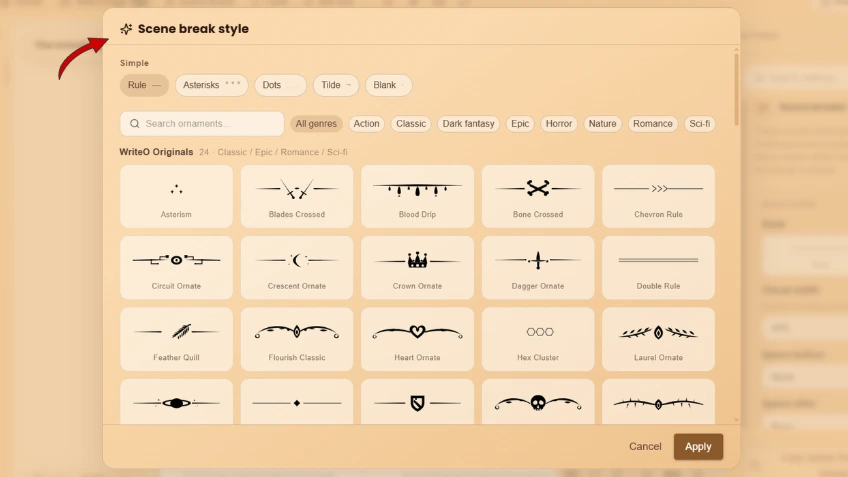
💡 Tip: Ornaments suit fantasy and romantasy. A simple mark suits literary fiction.
6. Choose an Interior Theme
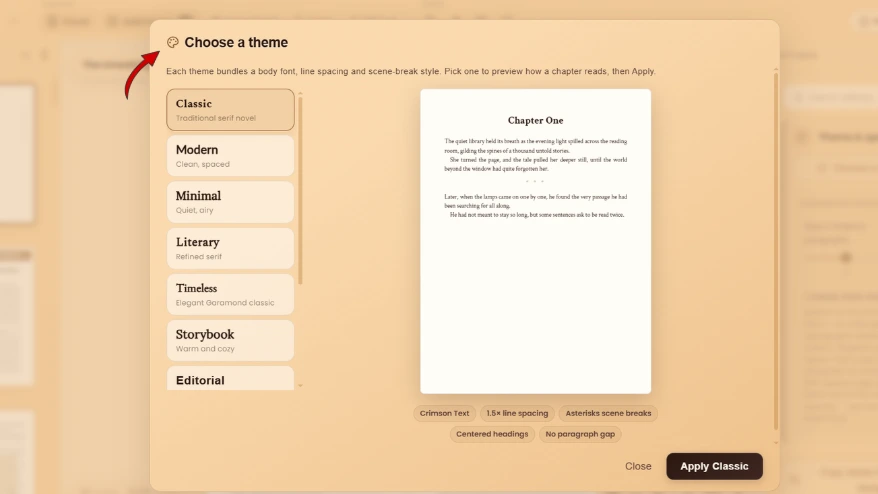
A theme sets your typography across the whole book in one move.
Steps
Open Settings.
Open the theme picker.
Choose a theme and apply it.
Set your paragraph style: Indented, the traditional novel look, or Spaced, which suits non-fiction.
Turn on hyphenation if your text is justified.
Image: Interior theme picker
💡 Tip: Hyphenation stops justified text from opening wide gaps between words.
7. Add Drop Caps
A drop cap is the oversized first letter that opens a chapter.
Steps
Open Settings.
Select Drop caps.
Set the size between 2 and 5 lines.
Adjust the gap, colour and vertical position.
To switch one off, double-click that paragraph and toggle it there.
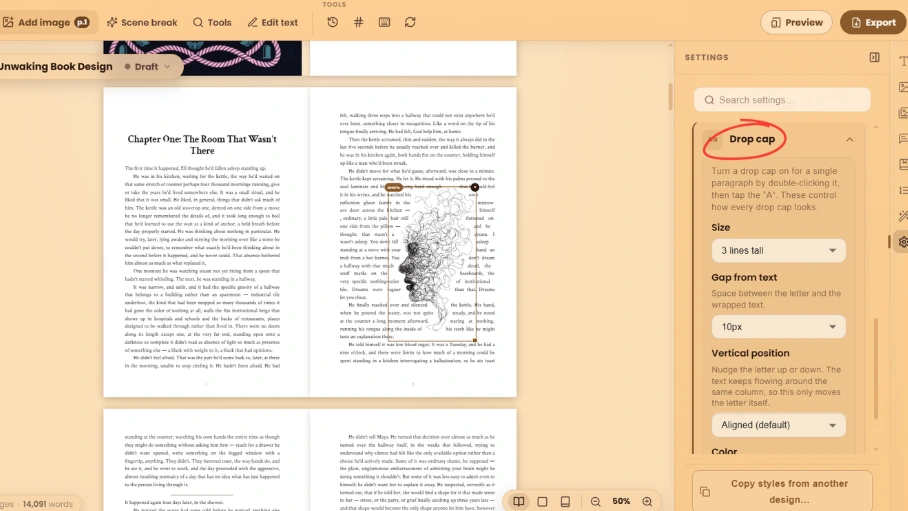
💡 Tip: Three lines is the safe default, and it works at almost every page size.
Quick Checklist
☐ Turn on the front matter your book needs
☐ Add back matter, including an "also by" page
☐ Add any custom pages or image spreads
☐ Upload your images and place them
☐ Set your scene break style
☐ Choose an interior theme and paragraph style
☐ Set your drop caps
Next: Guide 3 covers finding and fixing text issues, previewing on real devices, designing your cover, and exporting print-ready files.
Frequently Asked Questions
QDo I need every front matter page?
No. A title page and copyright page are the minimum most books need. Everything else is optional, so turn on only the sections your book actually uses.
QWhat is a two-page spread for?
Artwork that deserves the full width, usually a map. One image runs across both pages, the way printed fantasy novels present them.
QWill my scene break style apply to the whole book?
Yes. The setting in Settings applies to every break. If you change one individual break, only that break changes, and the rest keep inheriting the book-wide style.
QCan I turn the drop cap off for one chapter?
Yes. Double-click that paragraph and toggle the drop cap there. Every other chapter keeps the book setting.

Arya Quinn
Arya Quinn is a fantasy romance writer and the kind of reader who finishes a book and immediately needs to talk about it...