

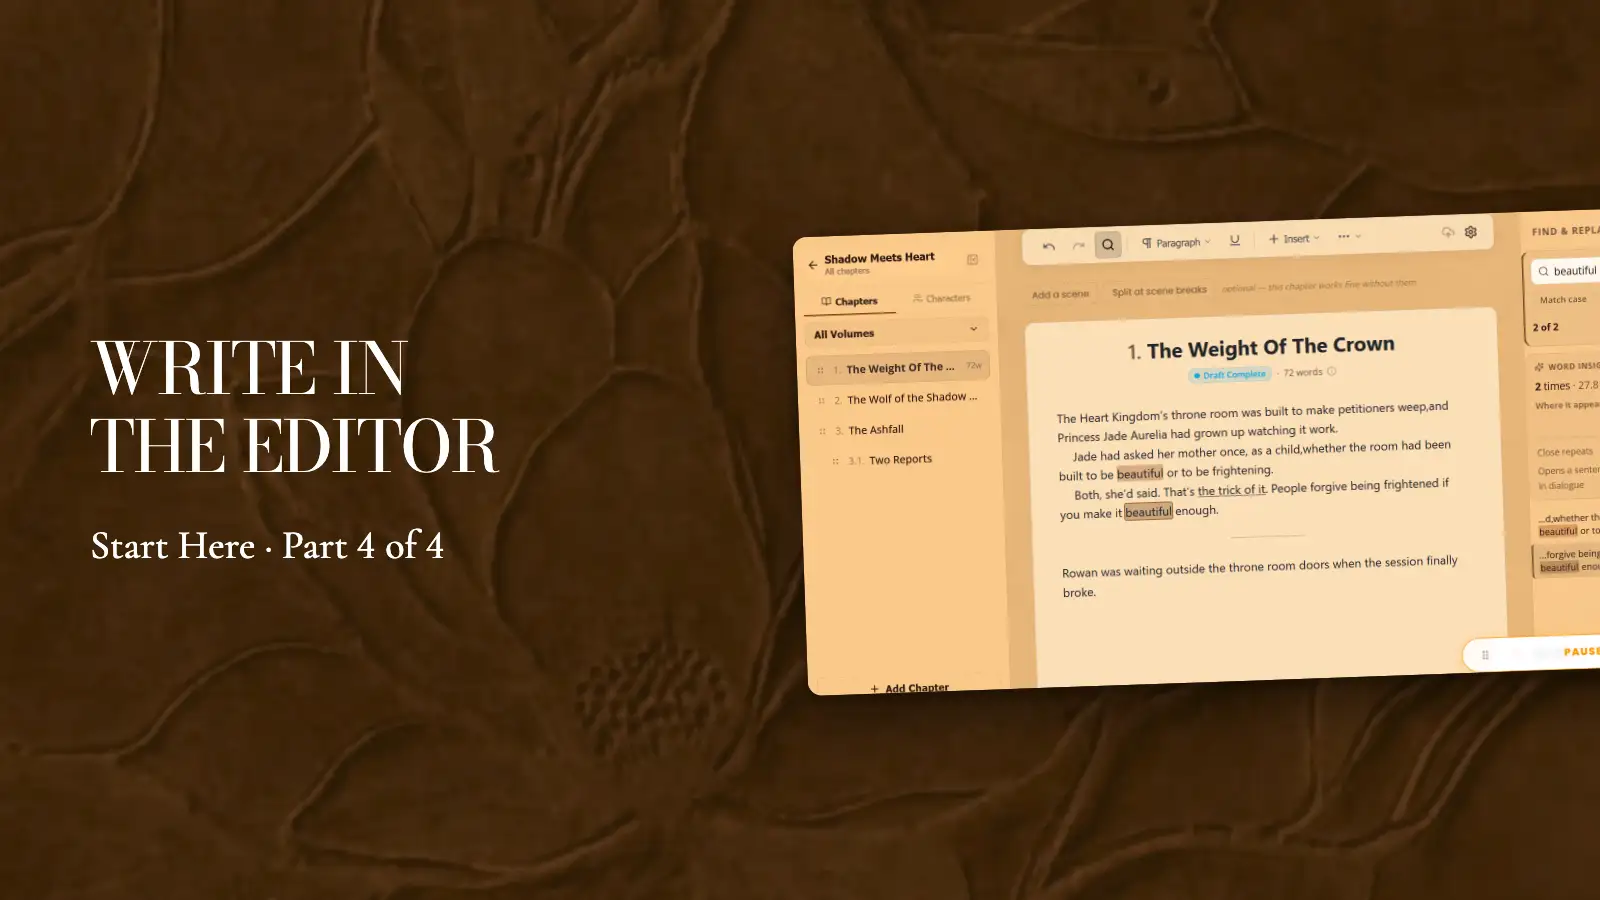
Video walkthrough: write and format in the WriteO editor (Part 4 of 4)
This is where your novel gets written. In this last Start Here guide you’ll move between chapters, format your writing, add scene breaks, and learn how WriteO keeps every word safe, so you can stop worrying and just write.
Step 1: Open a chapter
Steps
On the Chapters page, click a chapter to open it.
Use the chapter list on the left to jump to another chapter.
Click Add Chapter at the bottom of the list to start a new one.
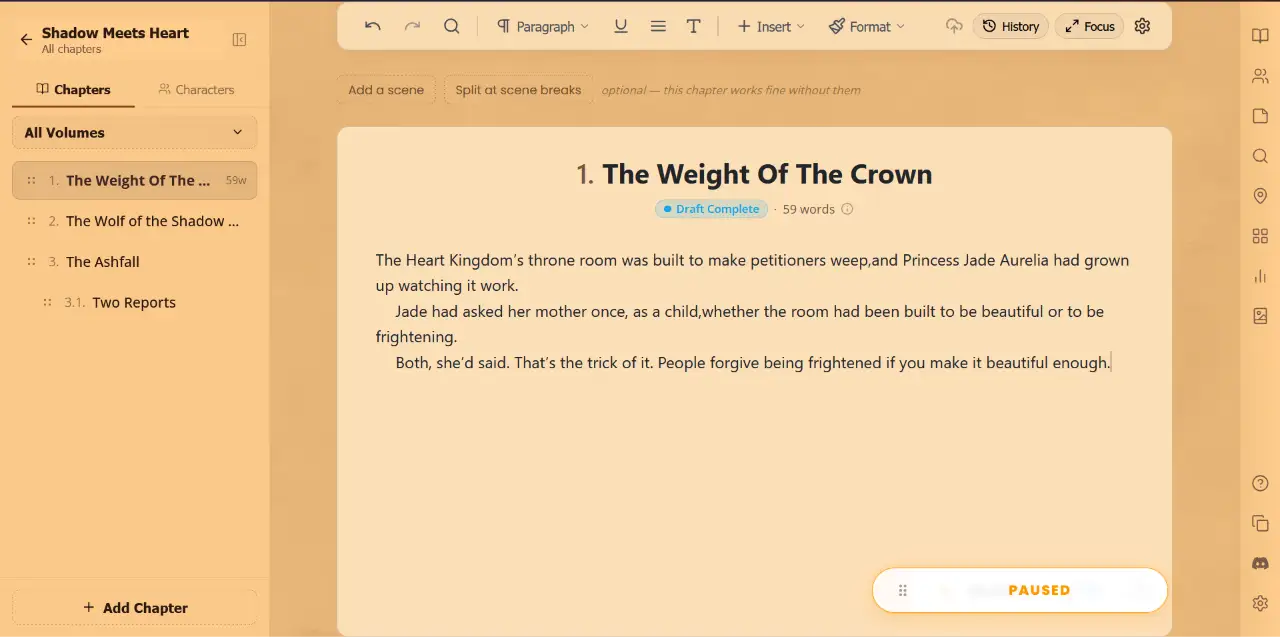
Tip: Drag a chapter in the left list to move it. It’s the quickest way to reorder while you write.
Step 2: Write
Steps
Click into the page and start typing.
Watch the word count under the chapter title go up as you write.
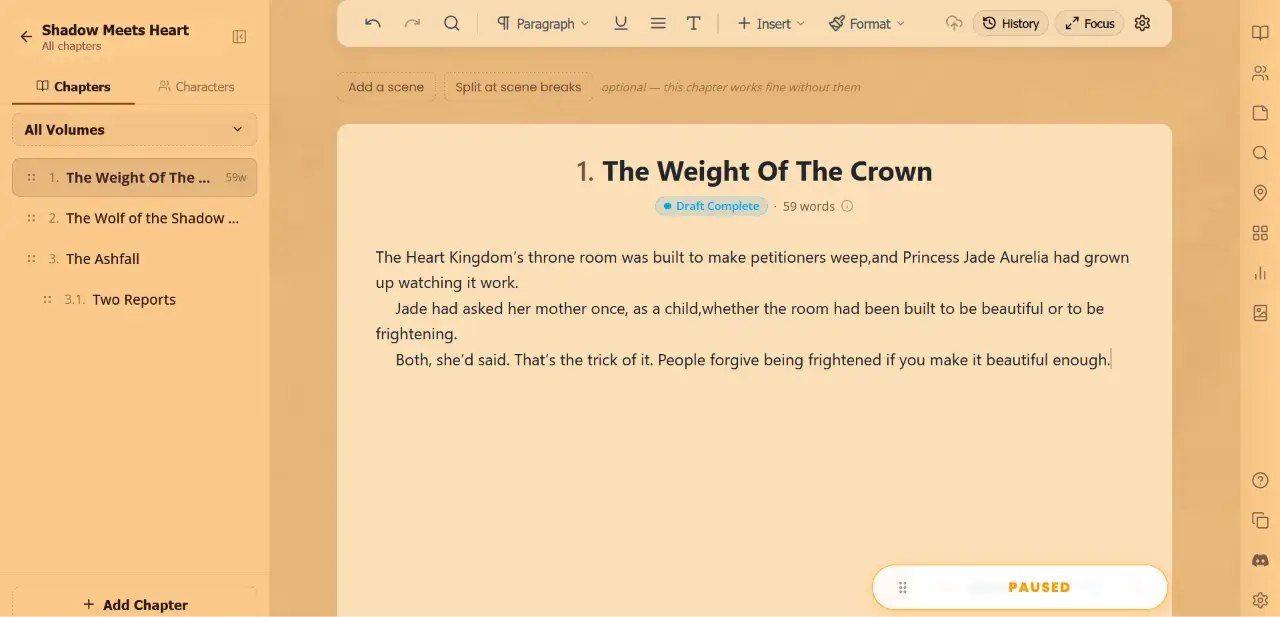
Tip: Don’t stop to fix every sentence. Get the scene down first, then come back and polish it.
Step 3: Format your text
Steps
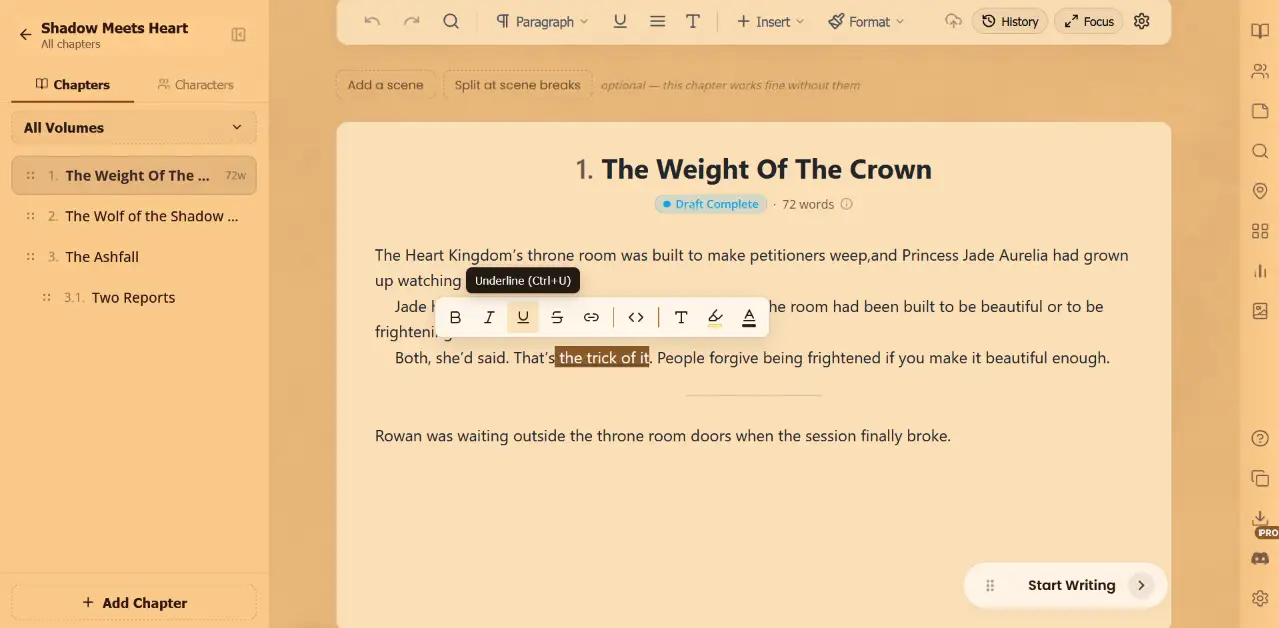
Select text, then use the small bar that pops up to make it bold, italic or underlined.
Use Paragraph to turn a line into a heading.
Open Format for highlights, text colour, spacing and indents, and drop caps.
Tip: Click Keyboard shortcuts on the right-hand side to see every shortcut. Once you know a few, you’ll rarely need the toolbar.
Step 4: Add a scene break
Steps
Click at the end of the paragraph before the break.
Open Insert and choose Scene break.
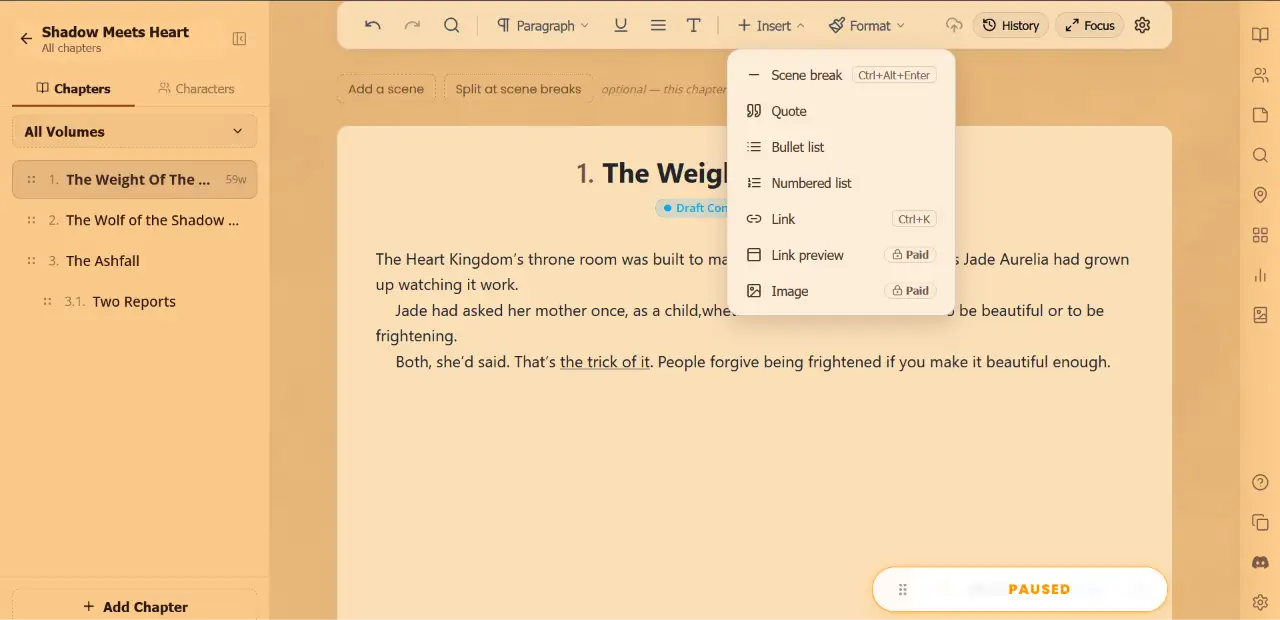
Tip: Scene breaks carry over to Book Designer, where you can choose how they look in your finished book.
Step 5: Check your work is saved
Steps
Keep writing. WriteO saves your work as you go.
Look at the cloud icon at the top right to see whether everything is saved.
To save straight away, click it or press ⌘S (Ctrl+S on Windows).
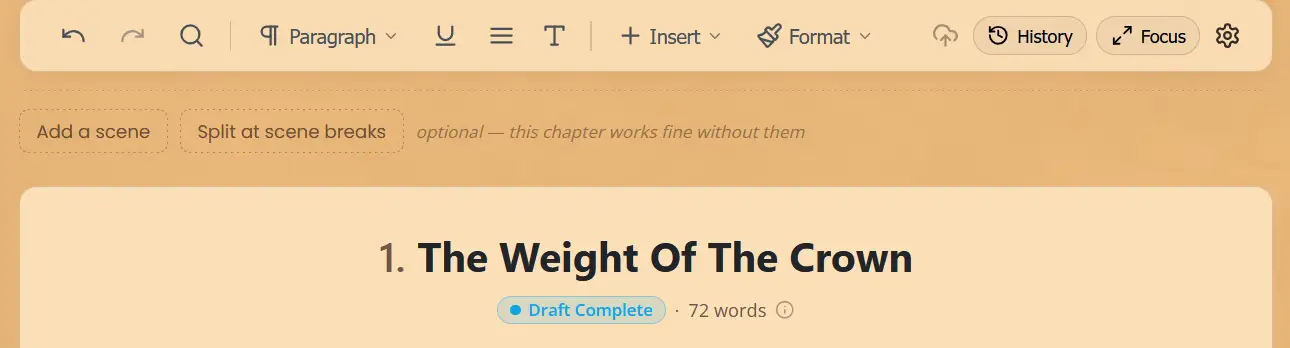
Tip: Check the cloud icon before you close the tab, especially on a slow connection.
Step 6: Find and replace
Steps
Click the magnifier in the toolbar, or press ⌘F (Ctrl+F on Windows).
Type a word to find every match.
Type a replacement to change one match or all of them.
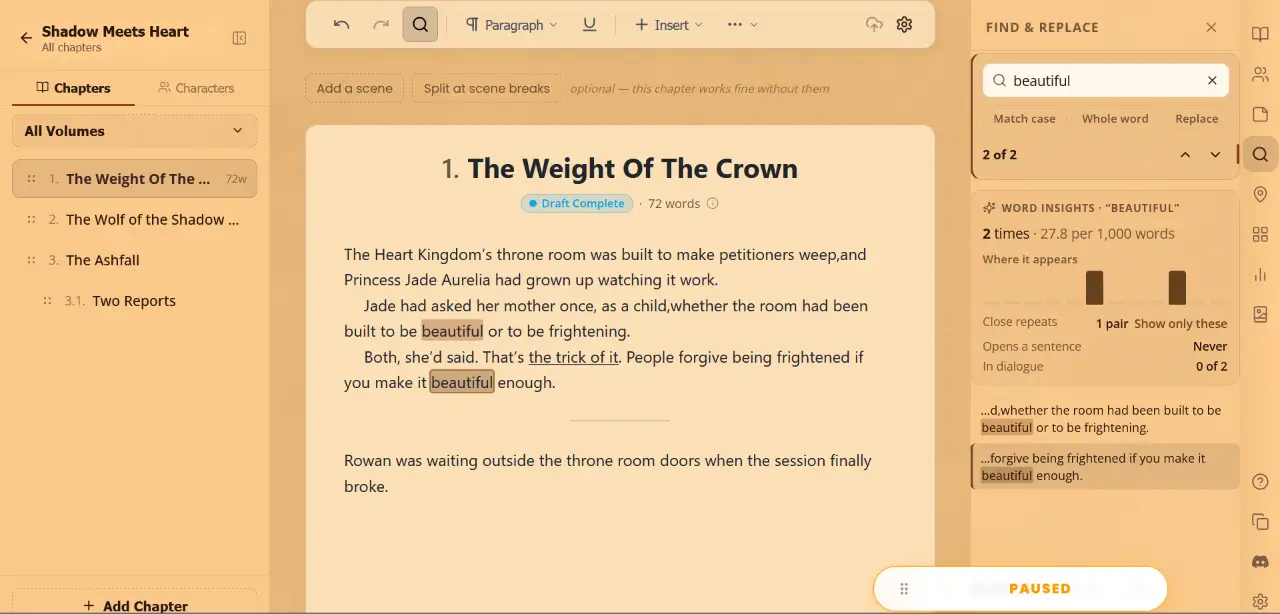
Tip: Find and replace searches the chapter you have open, scenes included. Renamed a character? Run it in each chapter.
Step 7: Go back to an earlier version
Steps
Click History in the toolbar.
Pick a version on the left to see what changed.
Click Restore to bring that version back.
How far back you can go depends on your plan.
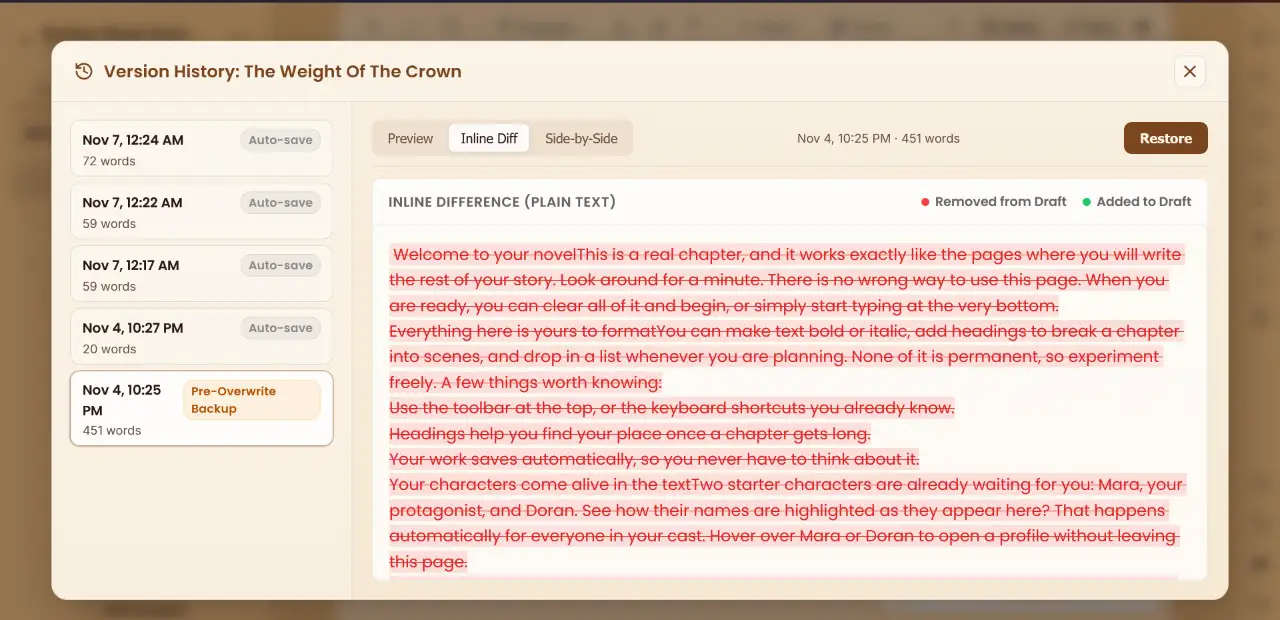
Tip: Use Inline Diff to see exactly what changed, before you restore anything.
Step 8: Make the editor yours
Steps
Click the status and word count under the chapter title to open Chapter details.
Click the gear to change the theme, fonts and typing help.
Click Focus to hide everything but your page. Press Esc to leave.
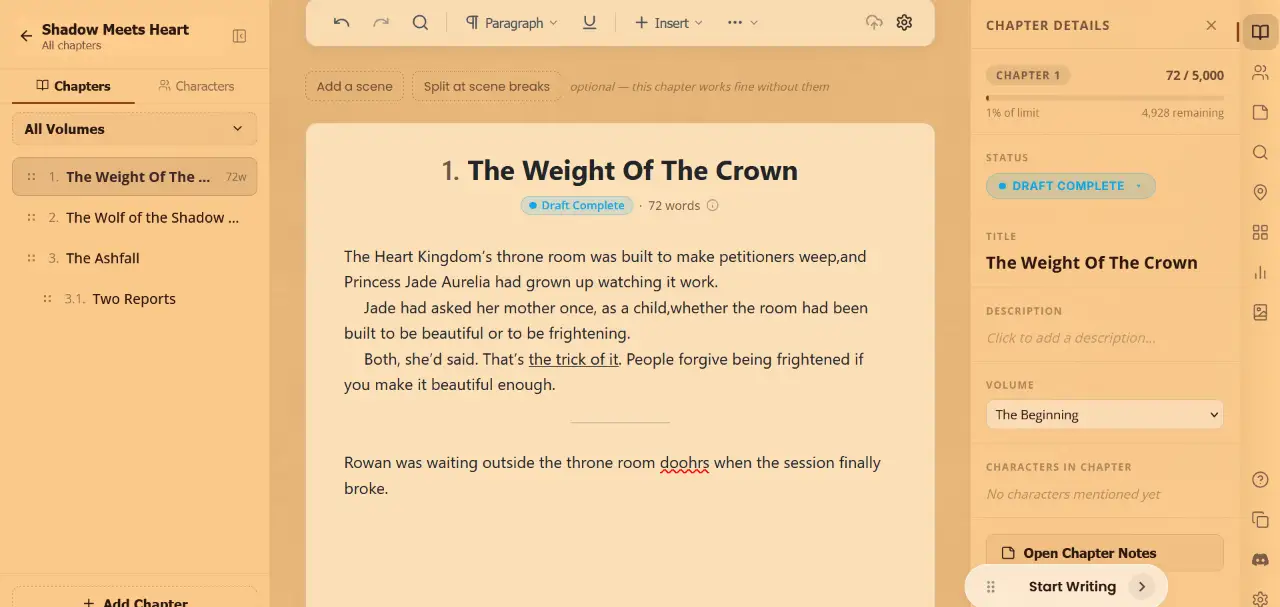
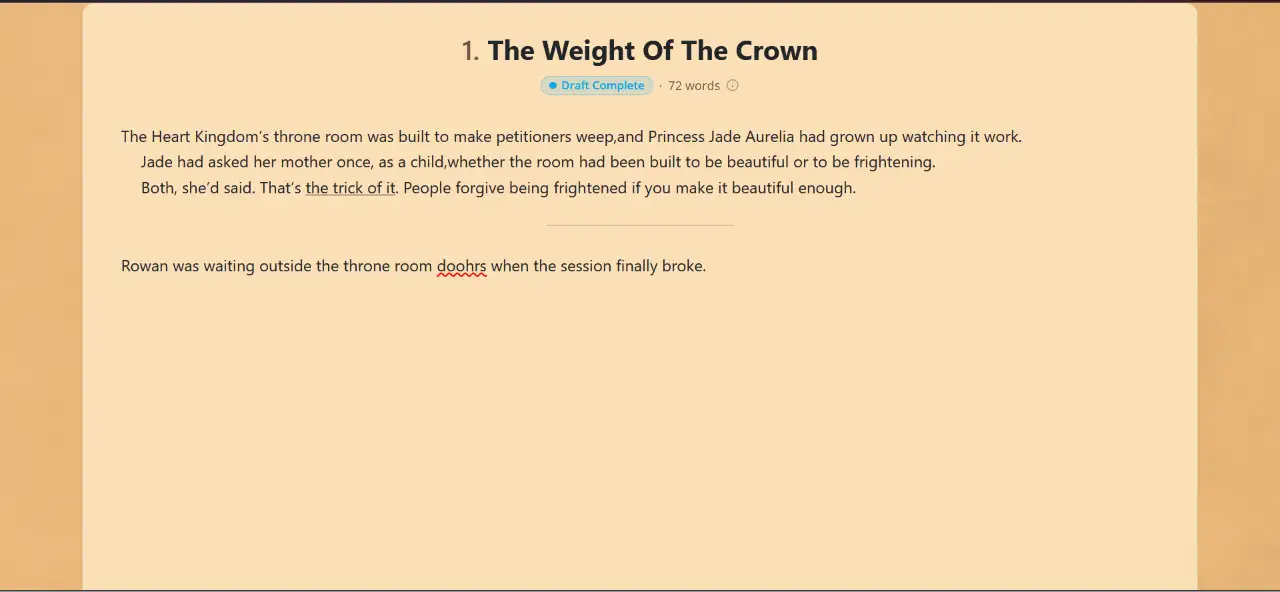
Tip: Writing at night? Try a darker theme in Settings, then switch back when you’re done.
Quick Checklist
☐ Write your first few paragraphs
☐ Format some text
☐ Add a scene break
☐ Check the cloud icon shows your work is saved
☐ Open Version history
You’ve finished Start Here.
Frequently Asked Questions
QDoes WriteO save automatically?
Yes. WriteO saves as you write, and the cloud icon at the top right shows when everything is saved.
QAre there limits on chapter length and version history?
Yes, both depend on your plan. See the pricing page for the current numbers.
QDo I have to use scenes?
No. A chapter works fine as one document. Scenes are there if you want to plan in smaller pieces, and they’re covered in the Plan Your Story series.
QWhy are some names highlighted?
WriteO highlights the names of characters you’ve added, so you can see who appears in each chapter. You can turn this off in Settings.
QHow do I leave Focus mode?
Press Esc. To see the toolbar without leaving, move your pointer to the top of the screen.
QWhere can I see every keyboard shortcut?
Click Keyboard shortcuts on the right-hand side of the editor.