
One novel is easy to manage. Five novels, a few abandoned drafts, and a series you're still planning? That's where the dashboard actually starts earning its keep. Here's everything it can do.
Step 1 — Your Novel Dashboard
Every novel you create shows up here as a card: cover image, genre badge, word count, and when you last touched it. If you've got more than one project going, this is where you'll spend most of your time deciding what to open next.
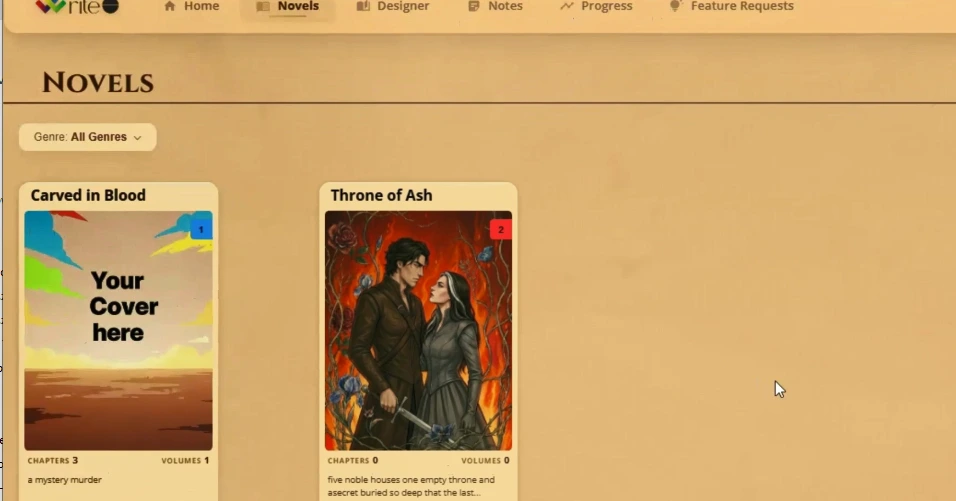
Step 2 — Create a New Novel
Click New Novel, type a title, pick a genre, and click Create. That's the whole process. Your new card shows up on the dashboard immediately, no loading screen, no confirmation email. You can see this whole flow in motion in the hero video at the top of this guide.
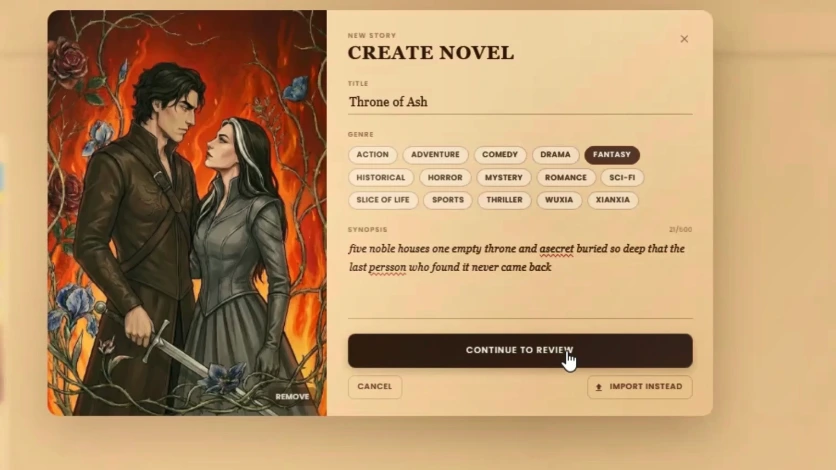
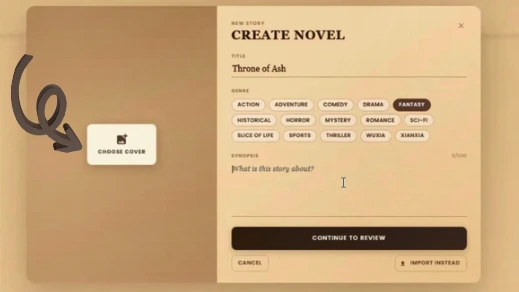
Step 3 — Add a Cover Image
Open your novel and find the cover area near the top. Click Upload Cover and pick an image. The dashboard card updates the moment you save it.
Step 4 — Filter by Genre
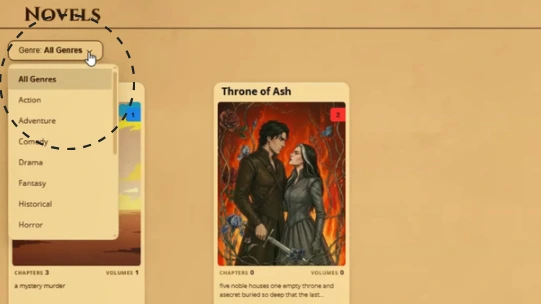
Click the Genre filter above your novel cards and pick from the list. The dashboard narrows down instantly to just the novels in that genre.
Step 5 — Search Your Library
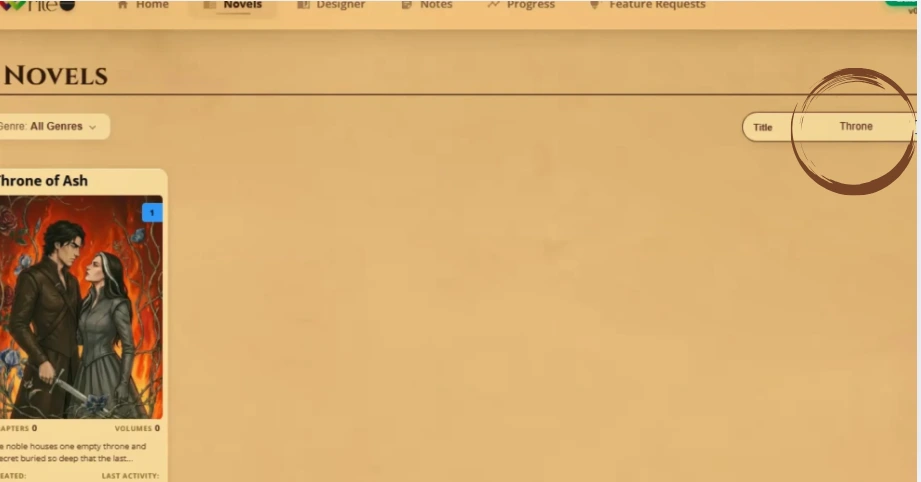
The search bar at the top filters by title as you type. No need to hit enter, no need to know the exact spelling.
Step 6 — Bulk Select and Delete
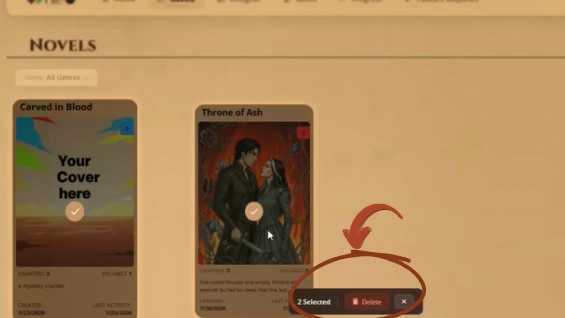
Click the checkbox icon to enable bulk selection, tick the novels you want gone, then click Delete Selected and confirm.
Step 7 — Navigate into a Novel
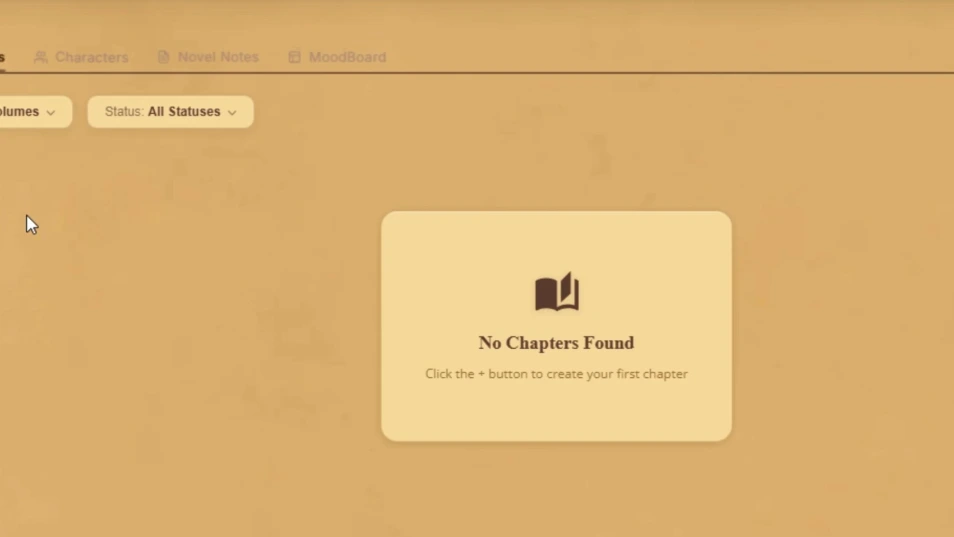
Click any novel card and you're straight into its Chapters view, ready to manage chapters, open the editor, or check on everything specific to that project.

Arya Quinn
Arya Quinn is a fantasy romance writer and the kind of reader who finishes a book and immediately needs to talk about it...